Found object Bracelet using Simple Sawn Settings
Incorporate three found objects into a bracelet with a clasp. Look to the handouts below to develop a setting for each found objects. begin by wrapping a strip of paper around your wrist to find the overall length for your bracelet, then lay out the found objects within that strip and determine how many rings you might need between settings.

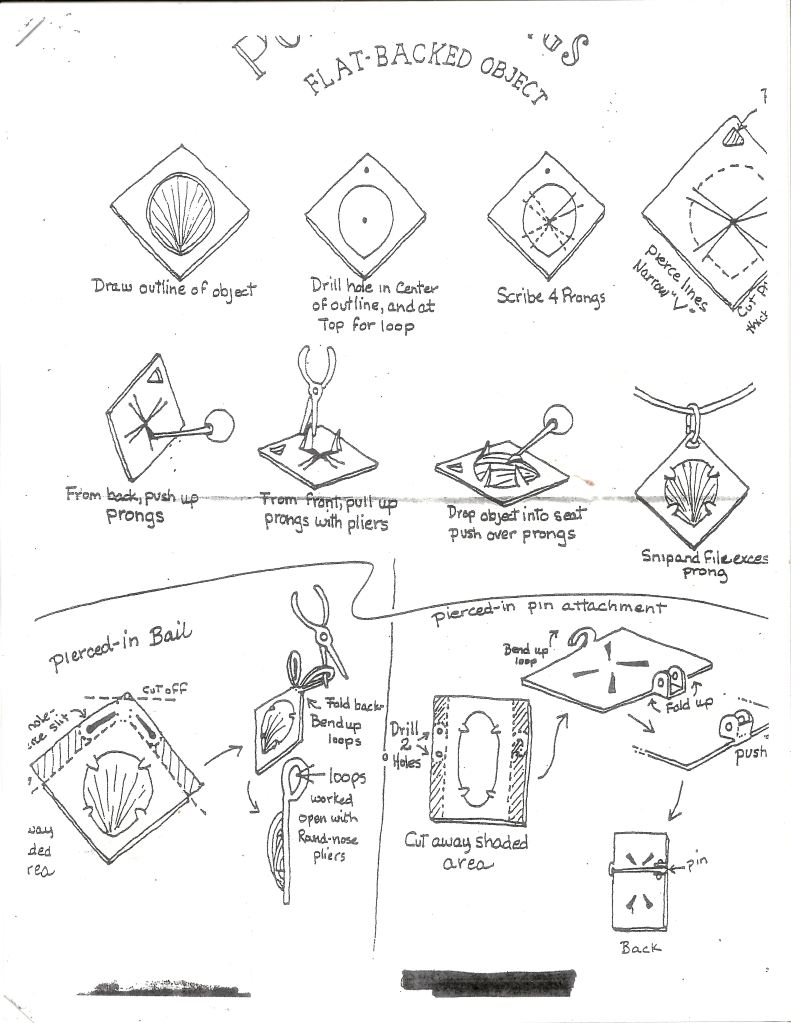
tab/prong setting beads or stones 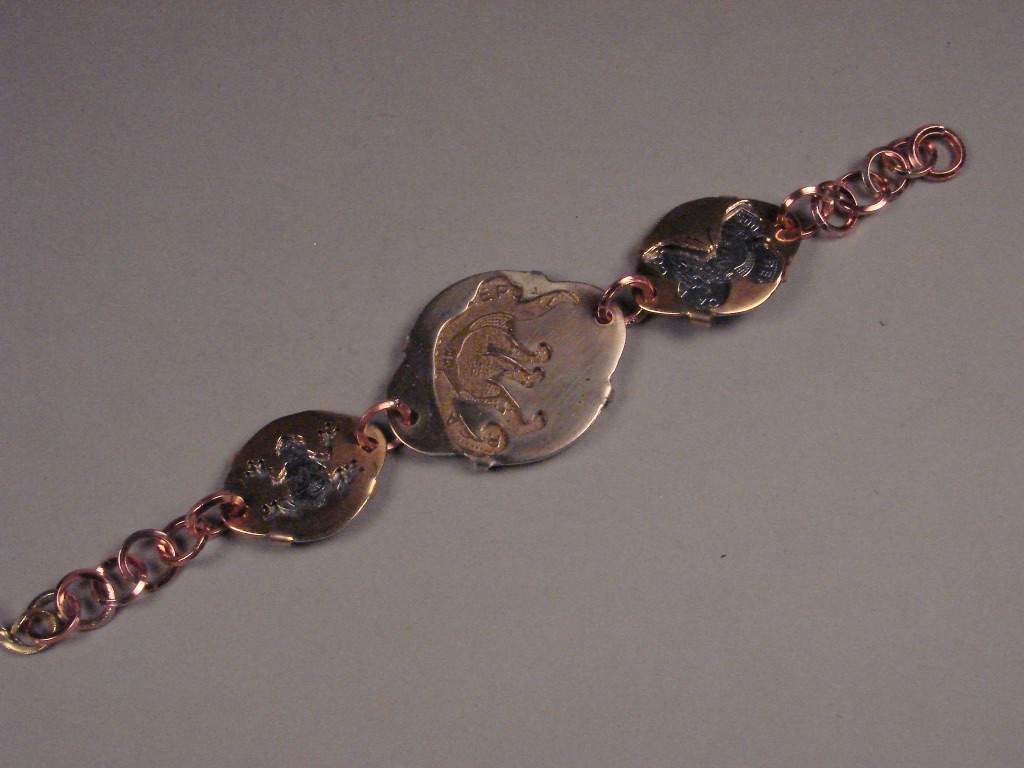
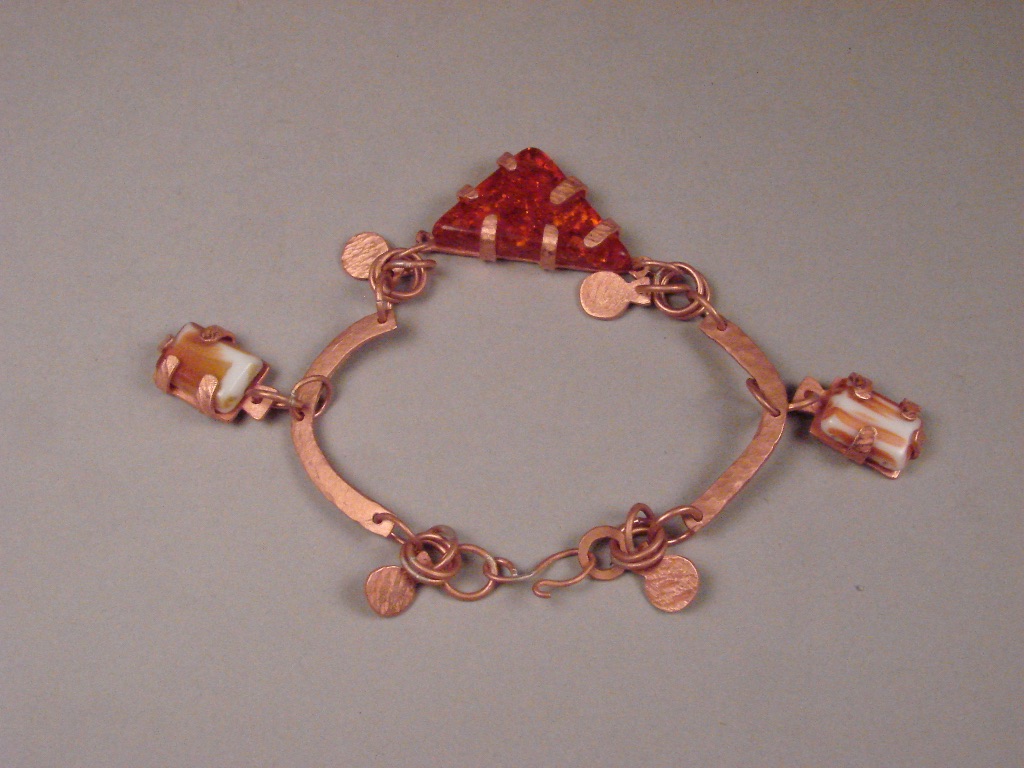
student bracelet example with prong set coins and window cut outs 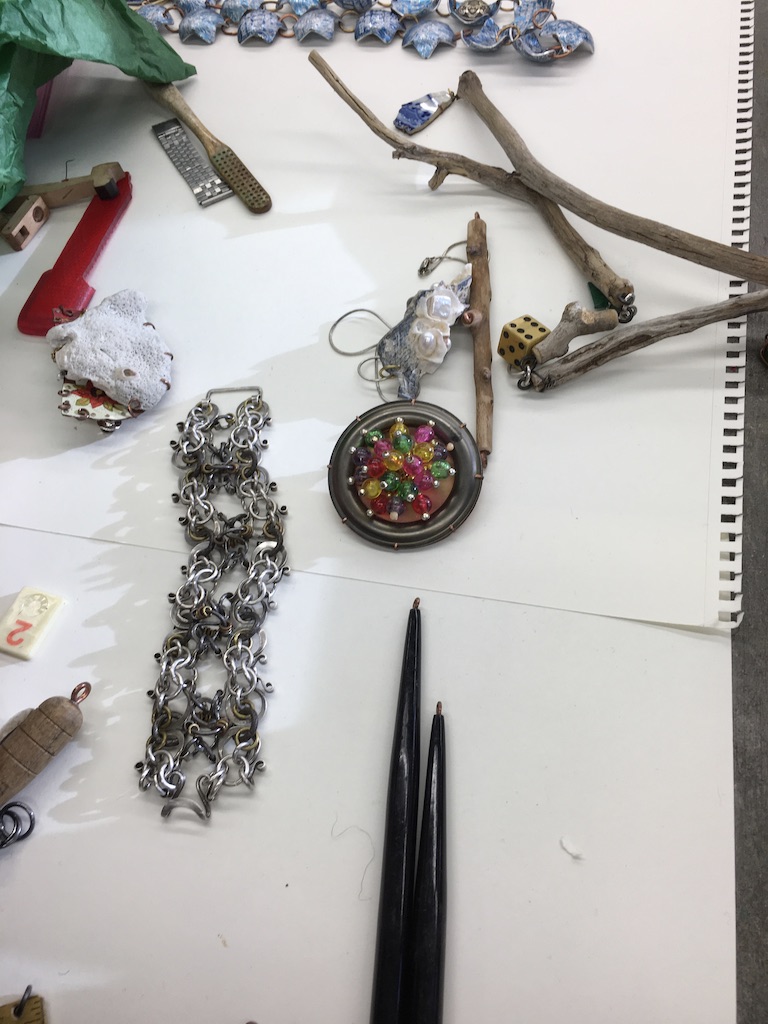
Bob Ebendorf samples 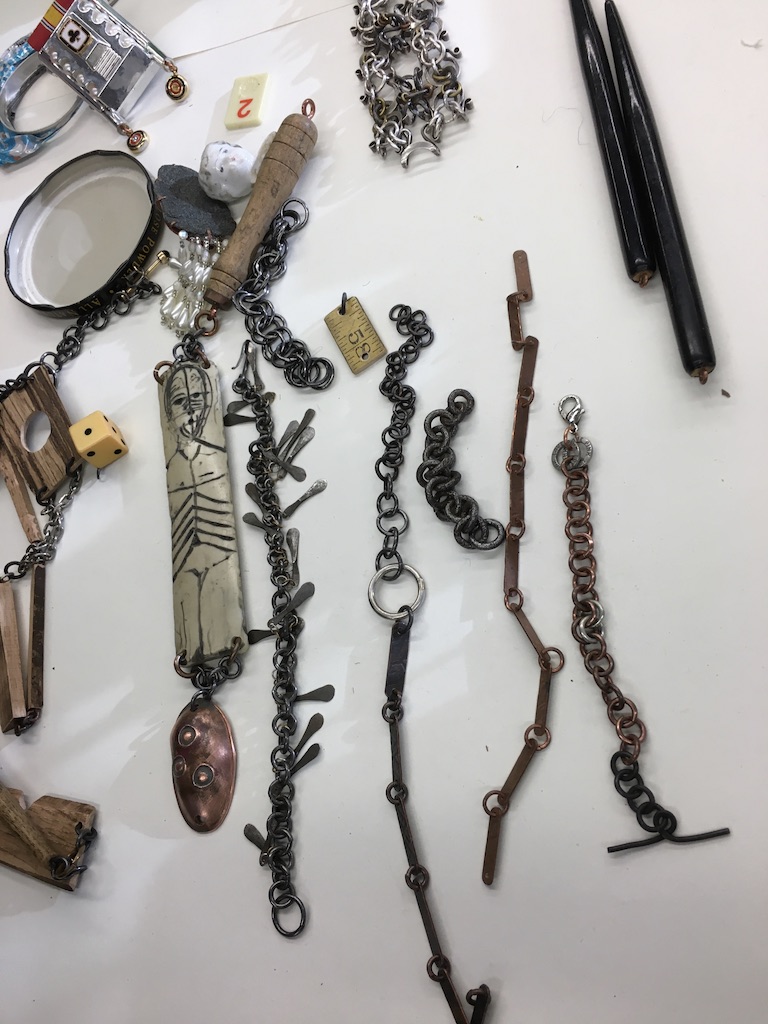
Looking at the Pop-up and flat backed prong setting options most scenarios above are designed with a bail for a pendant, when adapting to the wrist you should consider a hole at the top and bottom of a setting so they could be linked into jumprings for a bracelet. Another alternative would be to saw tabs from the exterior contour and roll them into a loop with round nose pliers.
Here are some videos on a simple methods of wrapping and sawing jump ring coils:
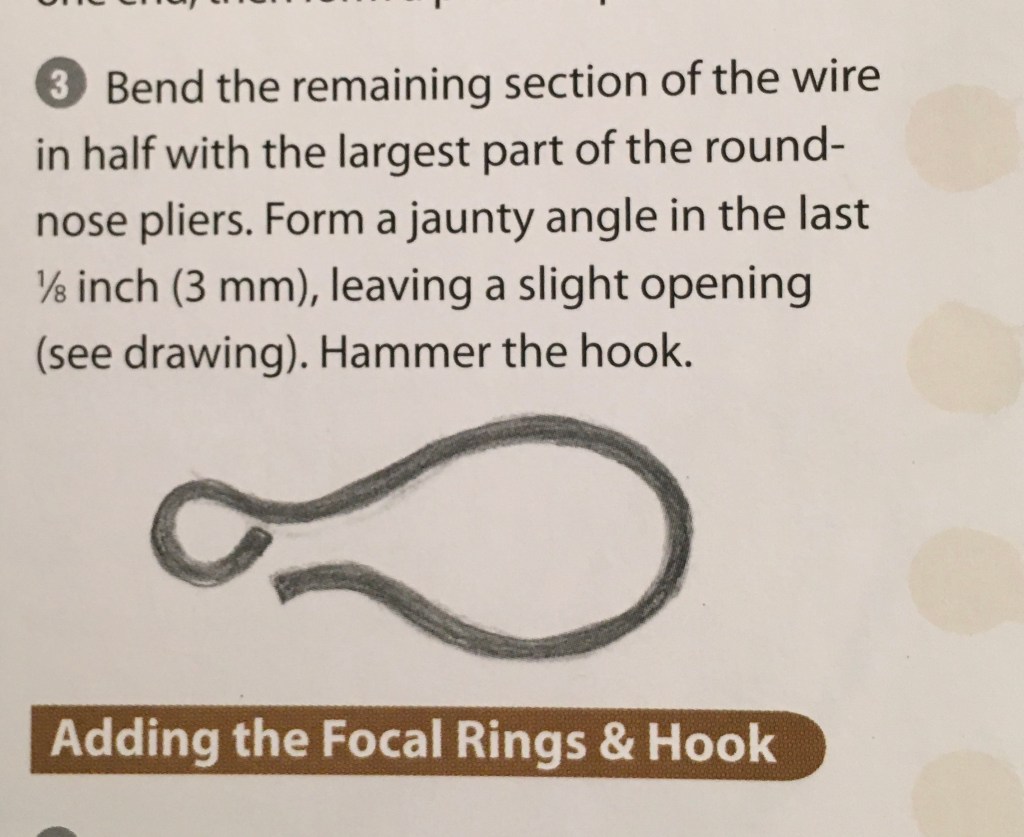
single wire clasp 
double wire clasp 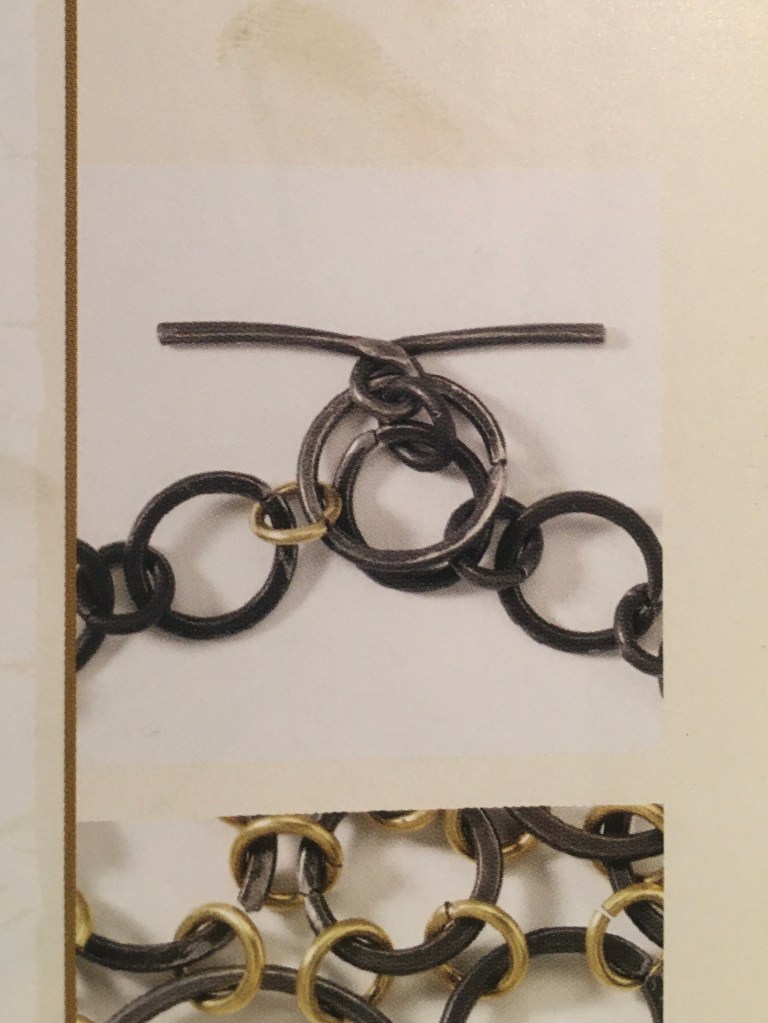
No solder bar toggle 
Clasp options from Lark Crafts’ Steel Wire Jewelry by Brenda Schweder
